Getting the APK
In this segment we are getting the APK from the firmware by extracting it.
Getting ready to extract the firmware
Extract the firmware zip files
Before we can do anything, we need to extract the "payload.bin" file from the .zip file we downloaded for the firmware.
The firmware that was downloaded should be named something like "sony_atvotafull" at the start. Now we need to extract the actual firmware file, open the .zip file and extract the other .zip file in it which is named something like "sony_dtv" at the start with a bunch of numbers and letters after that.
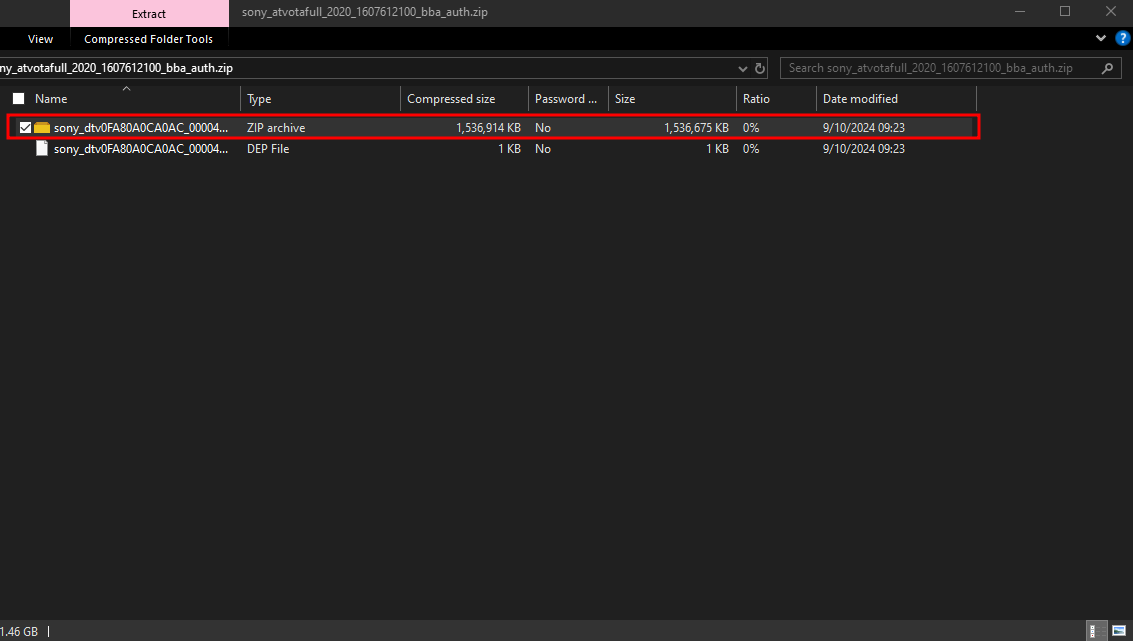
Now if you want you can delete the original .zip file which for me was named "sony_atvotafull_2020_1607612100_bba_auth.zip" should look similar to that.
Let's make a folder called output or firmware so we can be organized.
Now we can open the new .zip archive and extract the "payload.bin" file which is the actual firmware file. Extract it to the output folder we made earlier.
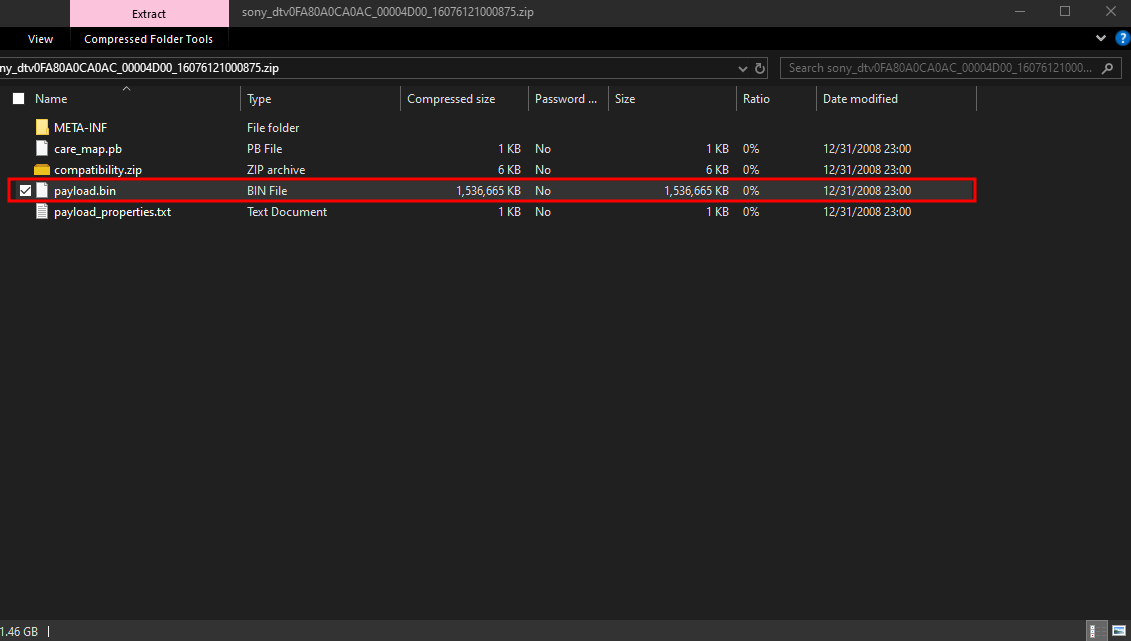
Now we can delete the 2nd .zip file which was for me "sony_dtv0FA80A0CA0AC_00004D00_16076121000875.zip" but it should look similar for you as well.
Getting the scripts ready
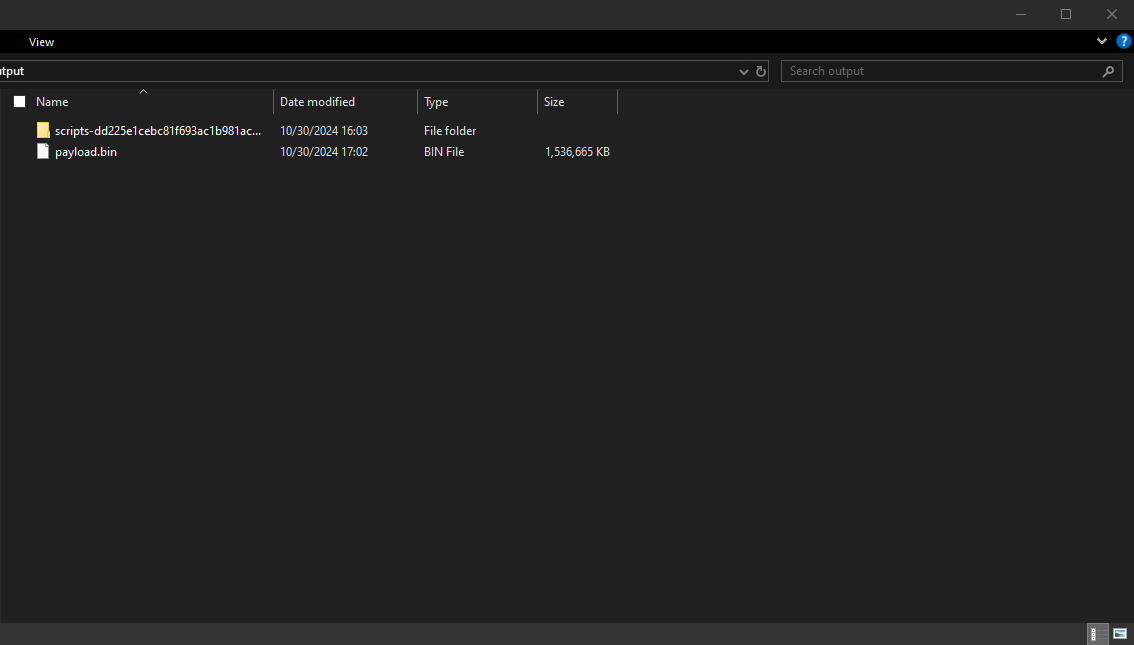
Now the scripts we downloaded earlier from GitHub, let's now extract that to the output folder as well. It should be named:
"scripts-dd225e1cebc81f693ac1b981ac853cf819321b49.zip"
We can also delete the scripts .zip file we just extracted since we extracted it to our output folder already.
This is what it should look like now in our folder.
Getting the python modules installed and our VENV ready
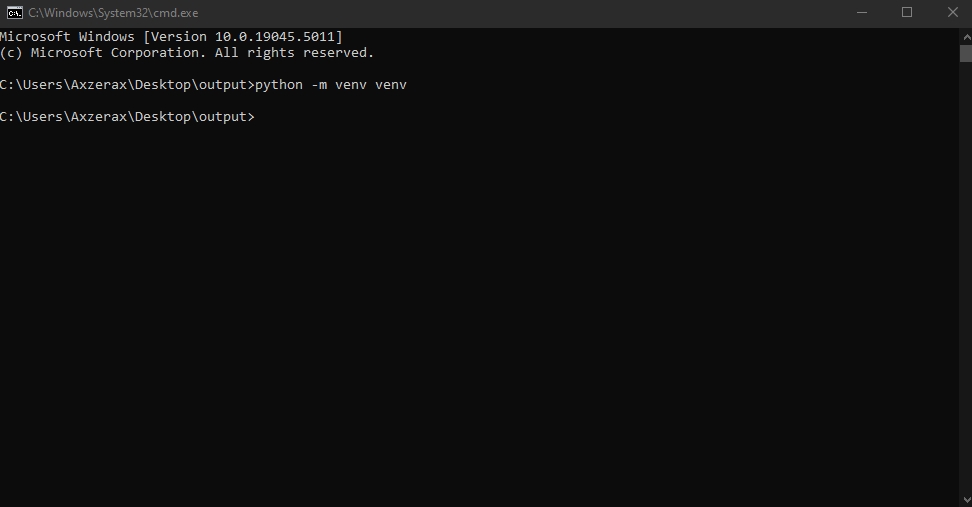
If you open the folder that we made which we named output or firmware, in the top section where it says "output" or "firmware", click in it and type cmd.exe and press enter.
That should bring up a Command prompt in our current directory which is our folder we made.

Now we need to install some pip modules for the scripts we downloaded to work. So were going to make a "venv" (A Virtual Environment) so we don't need to install the packages globally.
So in the command prompt window type as follows: python -m venv venv
Then press enter and it should have made a new folder called "venv" in our folder which is great.
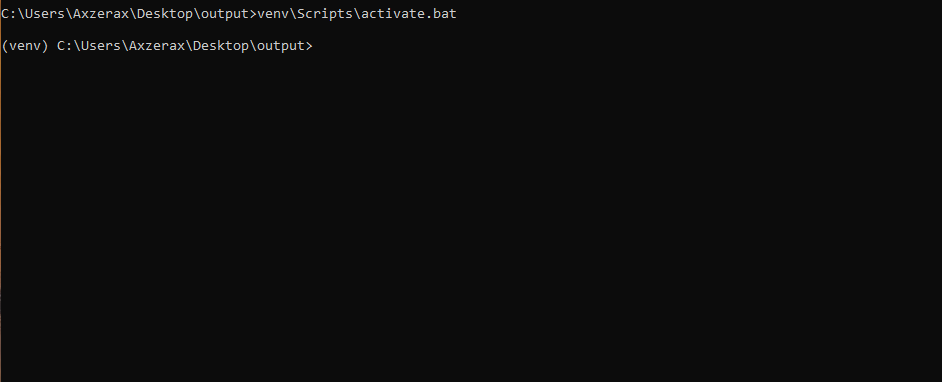
Now we need to activate our venv, so we can type in the command prompt window as follows: venv\Scripts\activate.bat
Then press enter, and you'll notice now it says (venv) on the left side to show you it's activated.
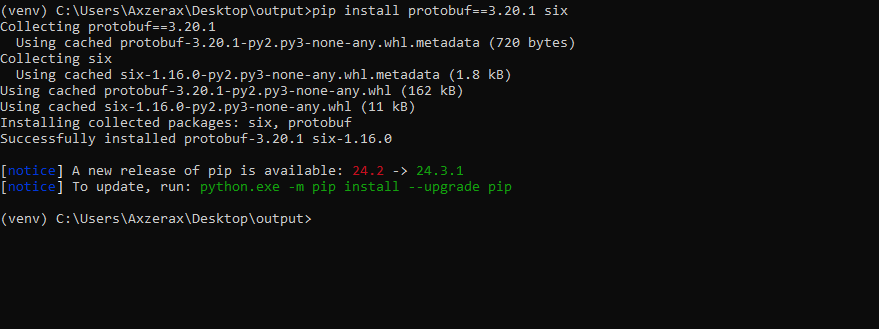
Now we need to actually install those modules I was talking about, so type as follows: pip install protobuf==3.20.1 six
Once that finishes we are ready to extract the firmware.
Extracting the firmware
Extracting the "system.img" partition
In the command prompt window type this as follows to extract the "system.img" partition from the firmware file we downloaded.
Also when typing this below, you can press the "tab" key to autocomplete the names of the files and directories like the scripts folder name.
python scripts-dd225e1cebc81f693ac1b981ac853cf819321b49\update-payload-extractor\extract.py payload.bin --output_dir partitions --partitions system
This may take some time depending on your system.
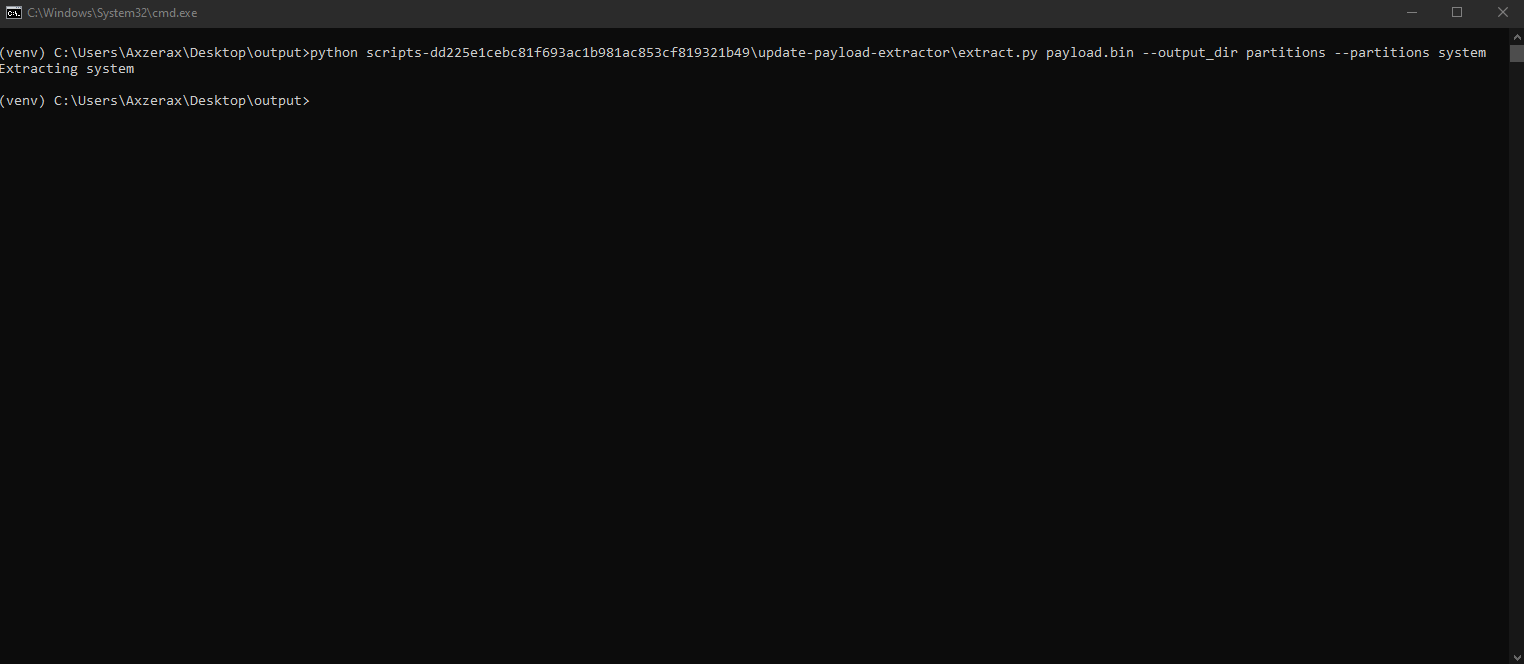
Once it finishes you'll notice we now have a new folder called "partitions" and that's where our extracted partition is located.
Go into the new partitions folder, the "system.img" file is not really the system.img file it's actually like a zip archive with no compression (or a .tar file) and we need the actual system.img file which is inside of it. That's why we downloaded 7zip at the start.
So now open the system.img file with 7zip, we can do this by right clicking on the file and clicking "7zip" -> "Open archive"
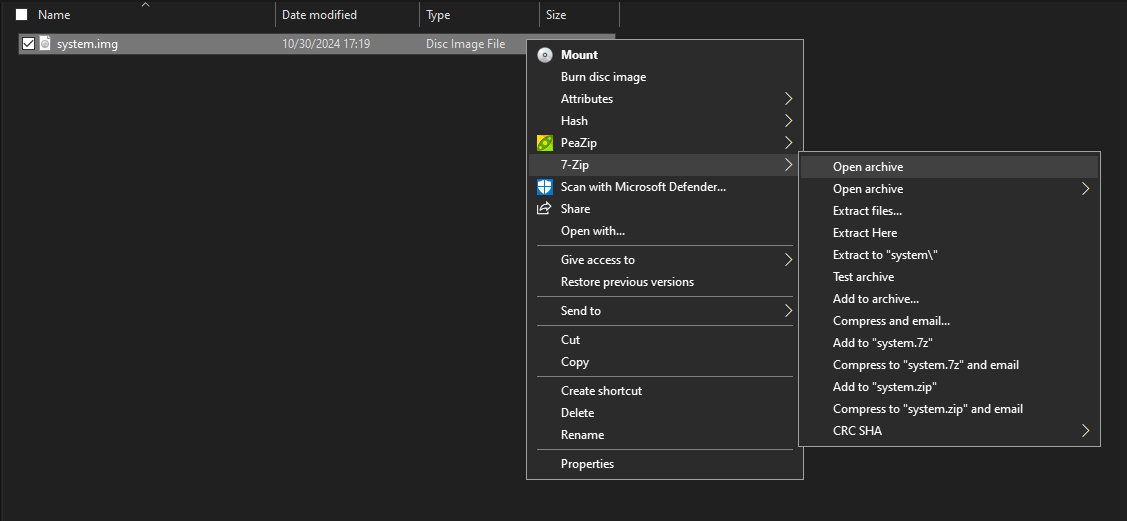
Once that opens you'll notice there's 3 .img files but we only need the "system.img" file.
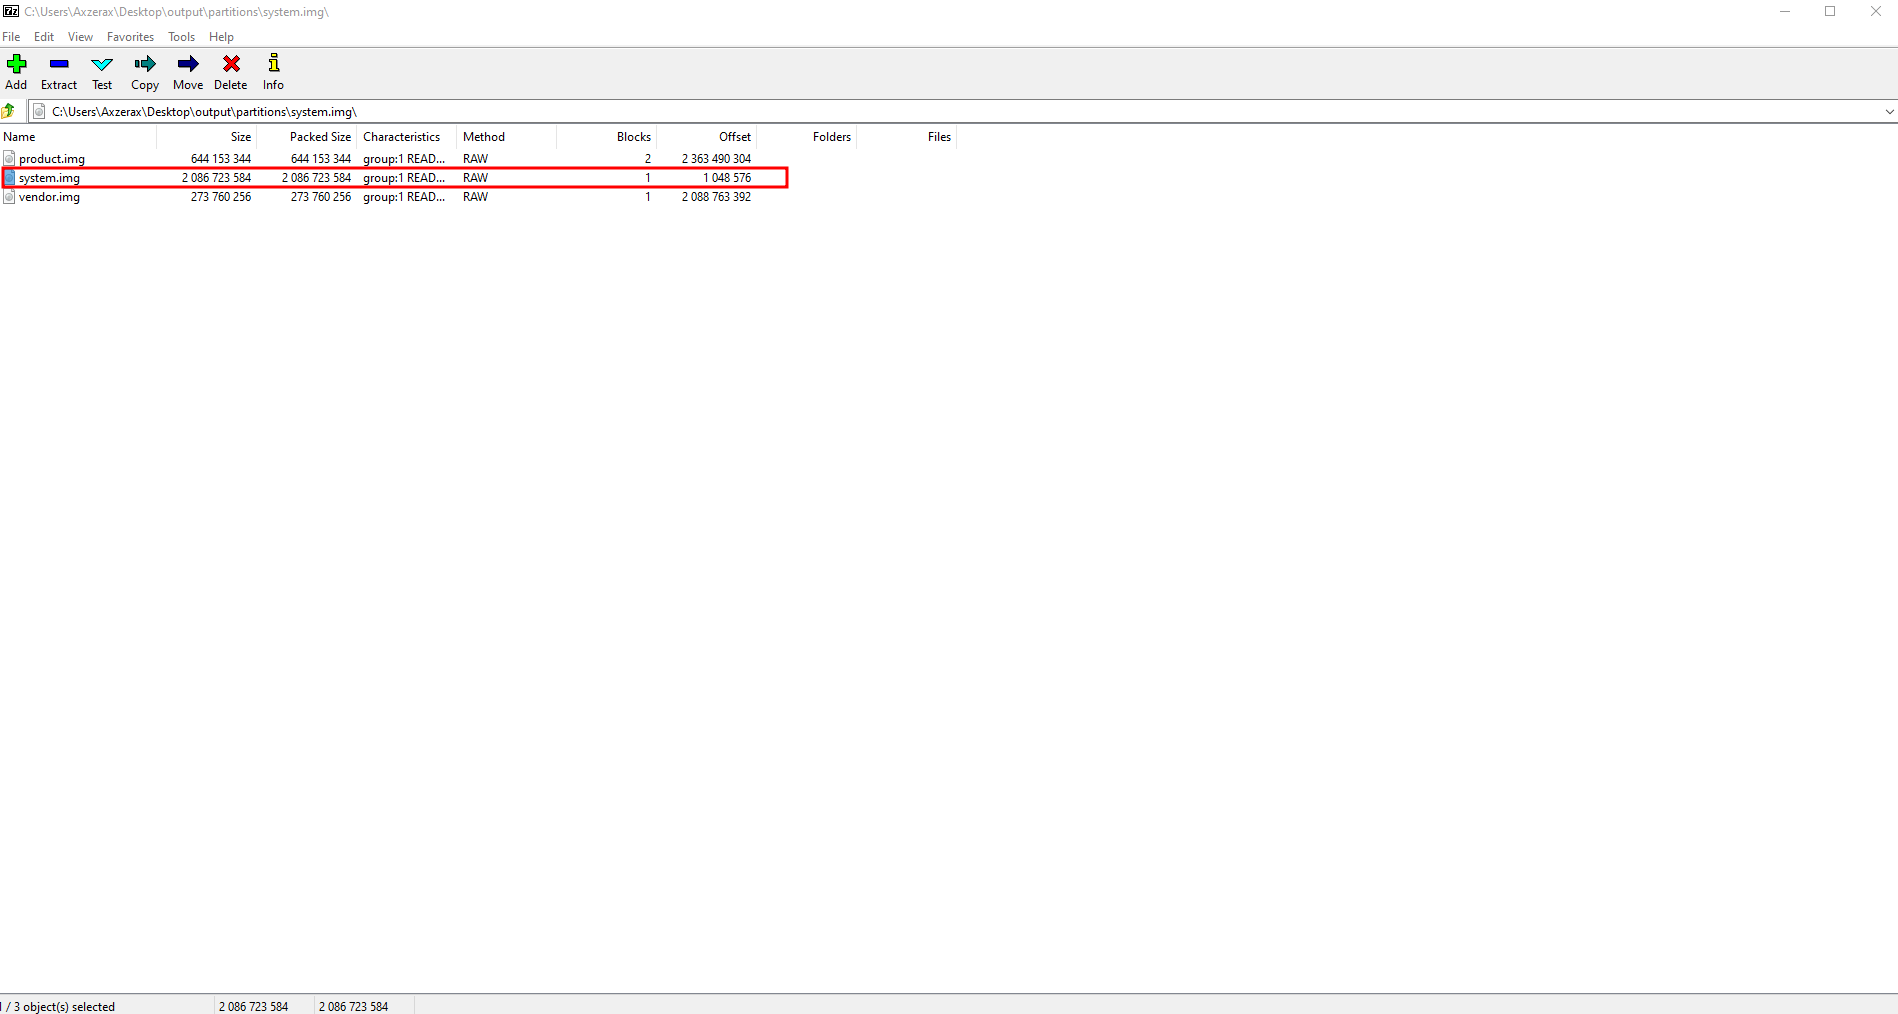
So you can move the system.img file in the system.img file partition to the root of our output folder (Where we have all our folders in the output folder and our payload.bin file) or even your desktop. (Whatever one you like)
Getting the APK
Getting "ProModeTool.apk"
Now we need to open our new system.img file that we just copied out of the system.img partition file. We need to do the same thing as earlier and open it with 7zip.
It should look like this.

Now go into the "system" folder in the list -> then the "priv-app" folder.
Now scroll down until you find the folder named "ProModeTool". This is the item that Sony removed from consumer TVs so that people can't use ProMode.
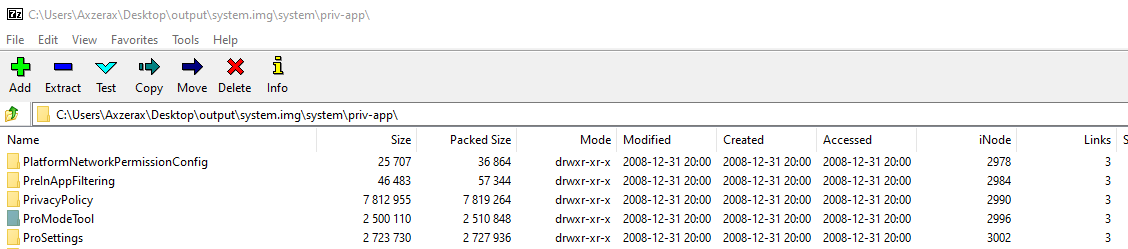
Once you find that, drag it out to somewhere like your desktop.
Now you can close Command Prompt, 7zip.
You can also uninstall python, and 7zip if you want since we're finished with it and you can also delete the output folder or firmware folder we made, just make sure you don't delete the "ProModeTool" folder.
Now we have to side-load that to our TV with ADB that we enabled earlier.